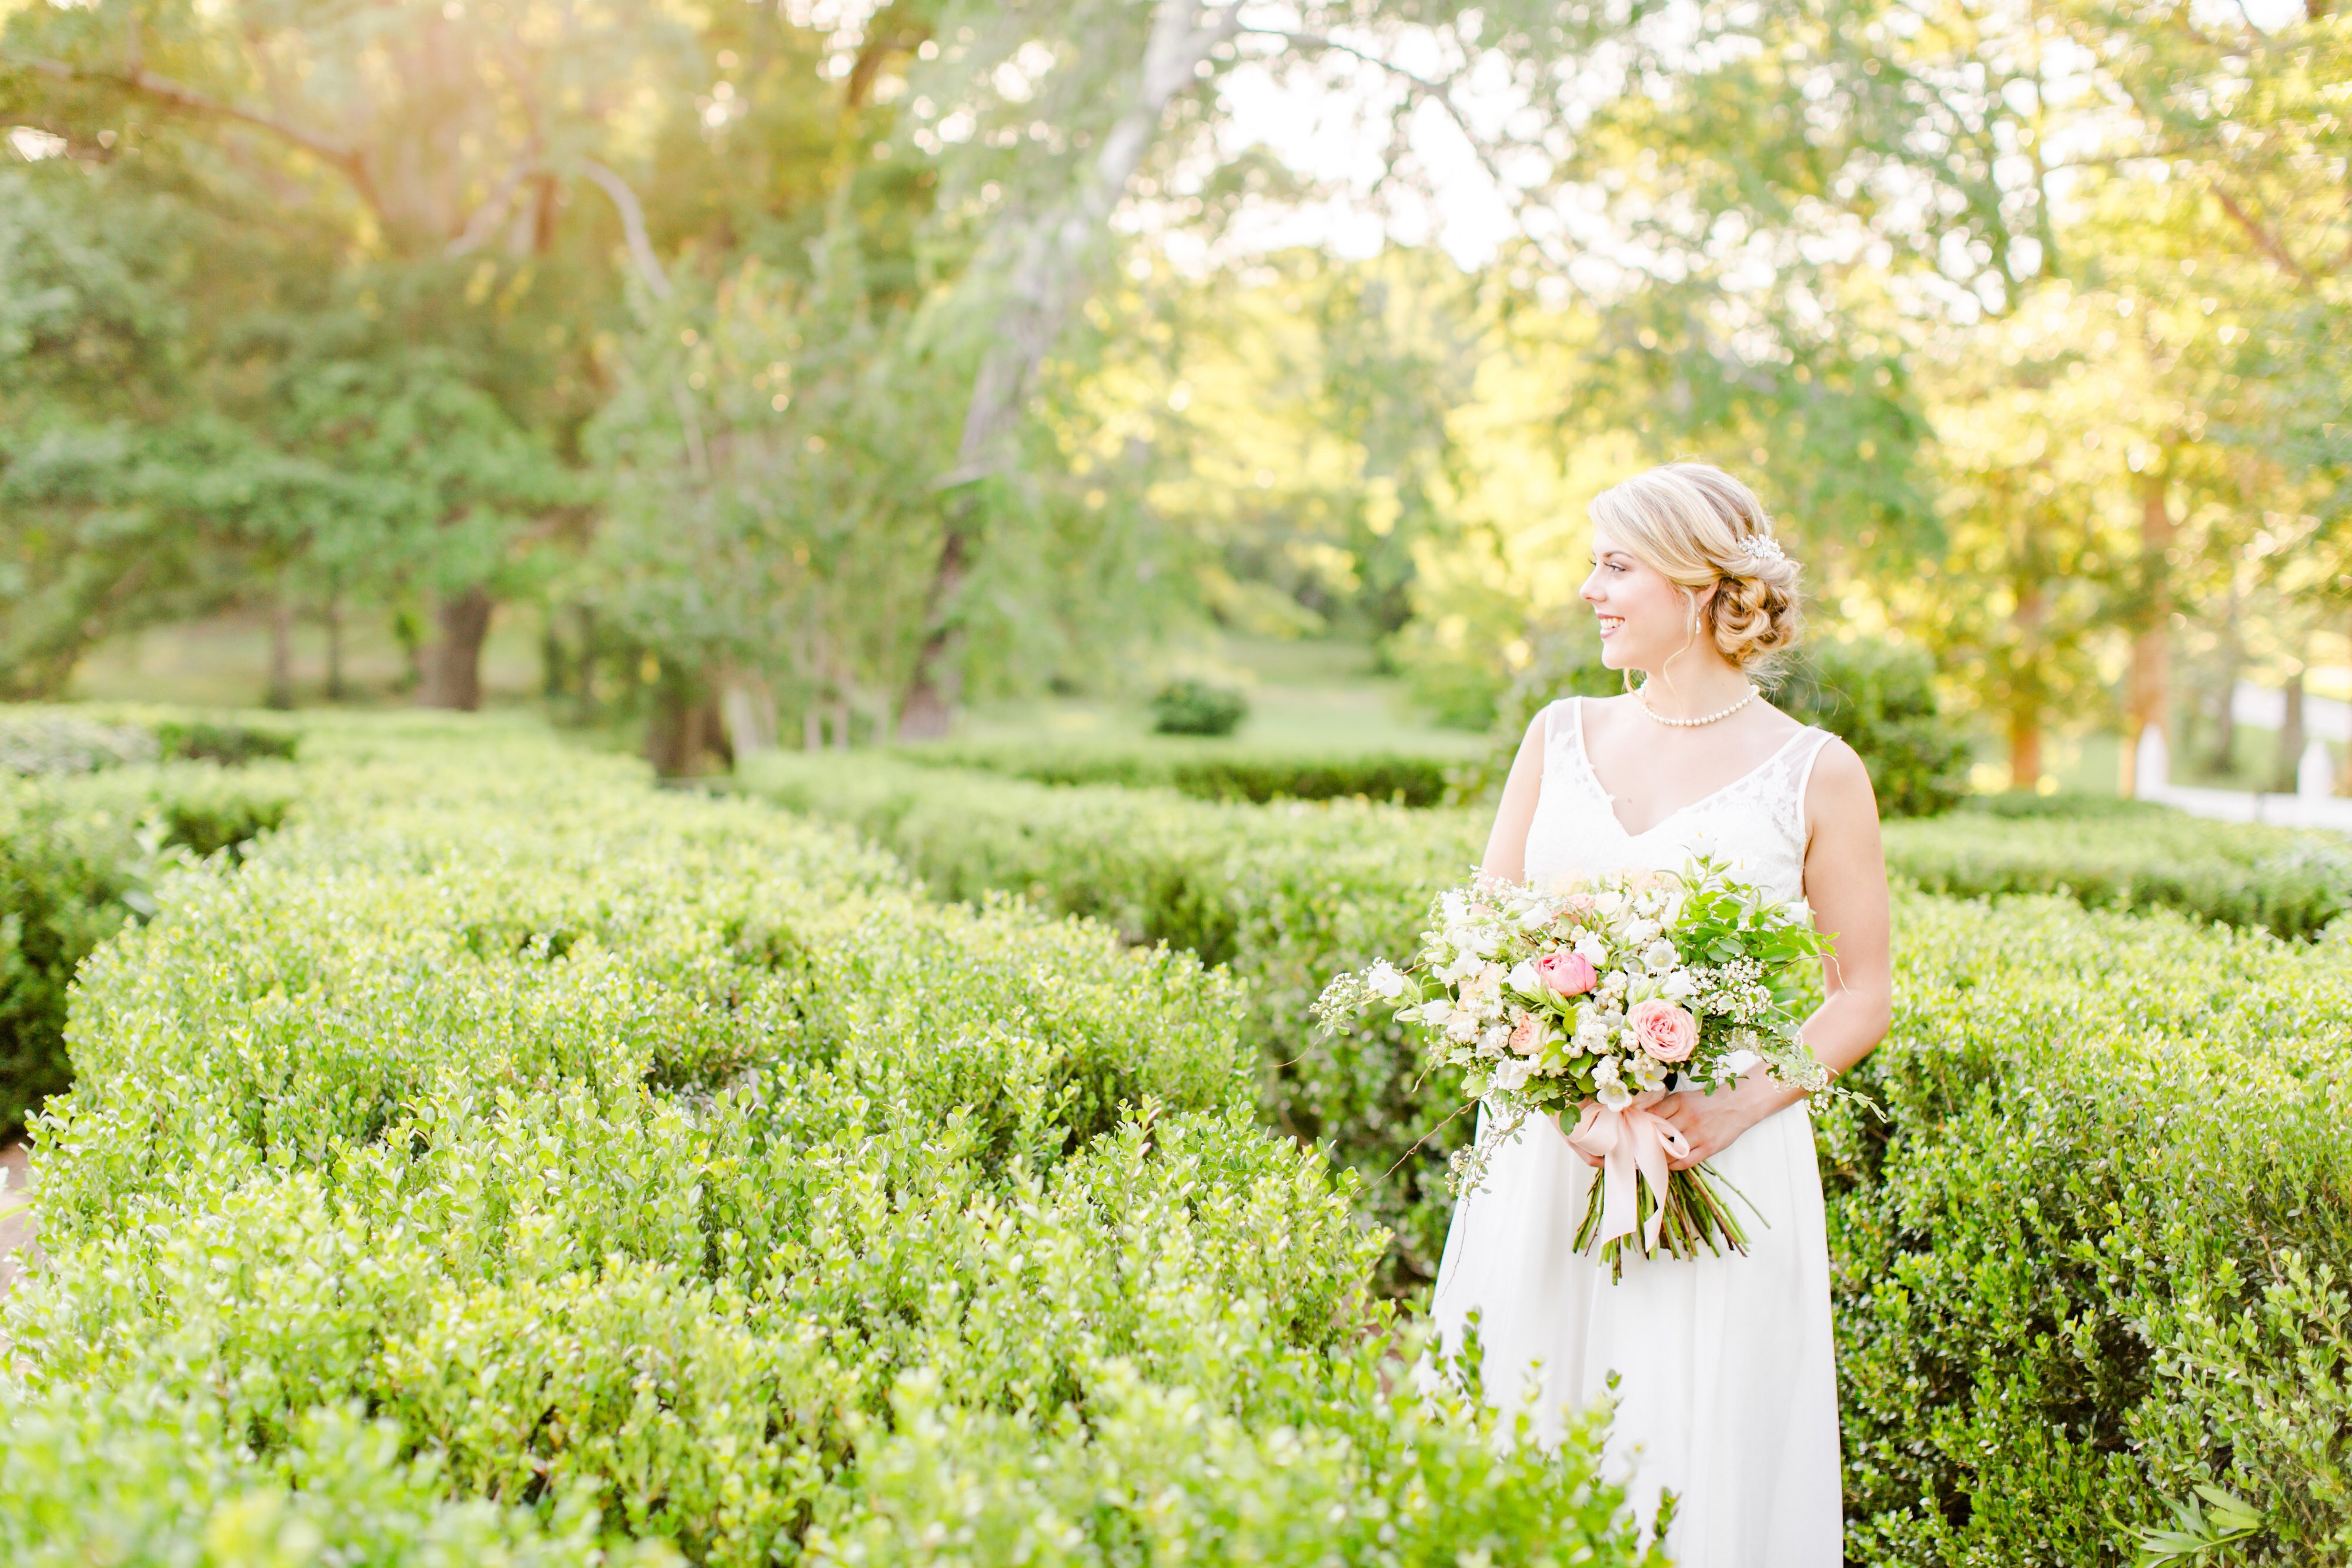
Anyone else ever had one of those sessions where you are in a gorgeous location that is filled with lush green plants and trees, gorgeous light, and a gorgeous couple? As you are shooting you are just falling more in love with each image and you just can not wait to get home and start editing! – Then you get home, upload the images, start editing, and it hits you… There is green EVERYWHERE! Panic then sets in as you realize no matter what shadows you adjust, how far you tweak sliders, and no matter how much you mess with your white balance you just don’t love it. – It’s basically the worst feeling!
Living in the South, greens are everywhere and honestly just can not be avoided – no matter how hard you may try! One thing I have learned is it is always better to embrace these situations than trying to avoid them every time I shoot. So here are the three ways that I have found help me keep those green tones in check!
- Avoid Dense Green Areas!
The darker the green, the harder it is to adjust!
Dense green areas would best be described as thick tree lines around fields, trees that don’t allow light to pass through its branches easily ( like a Christmas tree ), or large bushes or hedges that tend to have darker colored leaves.
All of those listed above tend to suck in the light, but never allow the light to come through! So if you see a spot you want to shoot at but see a dark patch of green that isn’t allowing light to come through to the other side, then just avoid getting that little area in your shot! Not only will it be one less green to deal with, but those darker spots don’t work well with bright and airy photos!
- Avoid Greens that All have Different Hues!
As I am sure you know greens can take on MANY different undertones – there are greyish greens, bright green, yellow green, bluish greens, and so many in between colors! All of the different green hues is what causes us to go crazy when editing and sadly almost every plant or tree will have a different hue!
One of the easiest ways to control your greens is to pay close attention to the plants that you are shooting near! When you look at them can you clearly see that they all have a different green to them? – Is one almost lime green? Is there a bluish green next to the lime green? Do the trees have more of a yellow green? If so, then either avoid this spot, or find a way to get at least one of those greens out!
I like to make sure that whatever area I am shooting has one main green hue to it! Granted, a lot of times an additional green may sneak in but as long as it isn’t competing with my main green I can easily edit it later!
The less green hues you have the better!
- Find Locations that have Natural Reflectors Near the Greens!
Greens are known for casting green light on subjects when they get too close and this can easily throw off an image that you love! Having a natural reflector nearby will allow extra light to come in on your subject and help eliminate any chance of unwanted green light!
Not only will natural reflectors help eliminate green light, but it will also allow extra light to come into your image which will keep those greens looking brighter and easier to edit after the fact!
My favorite natural reflectors to use are sidewalks, sand, white buildings, and gravel roads! These light sources are usually large enough to not only properly light your subject but also the area around them!
Want to know more about natural reflectors? Click here!
Did you know that I have a presets in my AWP Bright and Airy Preset Pack that is for adjusting greens? It helps me keep those greens in check with just a simple click! Check out the full pack here!

Before and After with the Prefect Green Preset found in my preset pack!
